


Clerk
This guide explains how to connect your Supabase database with Clerk, an authentication provider built for the modern web.
Clerk authenticates users, manages session tokens, and provides user management functionality that can be used in combination with the authorization logic available in Supabase through PostgreSQL Row Level Security (RLS) policies.
This guide assumes you have a Supabase account and database project already set up.
If you don't have a Clerk account, you can create one now.
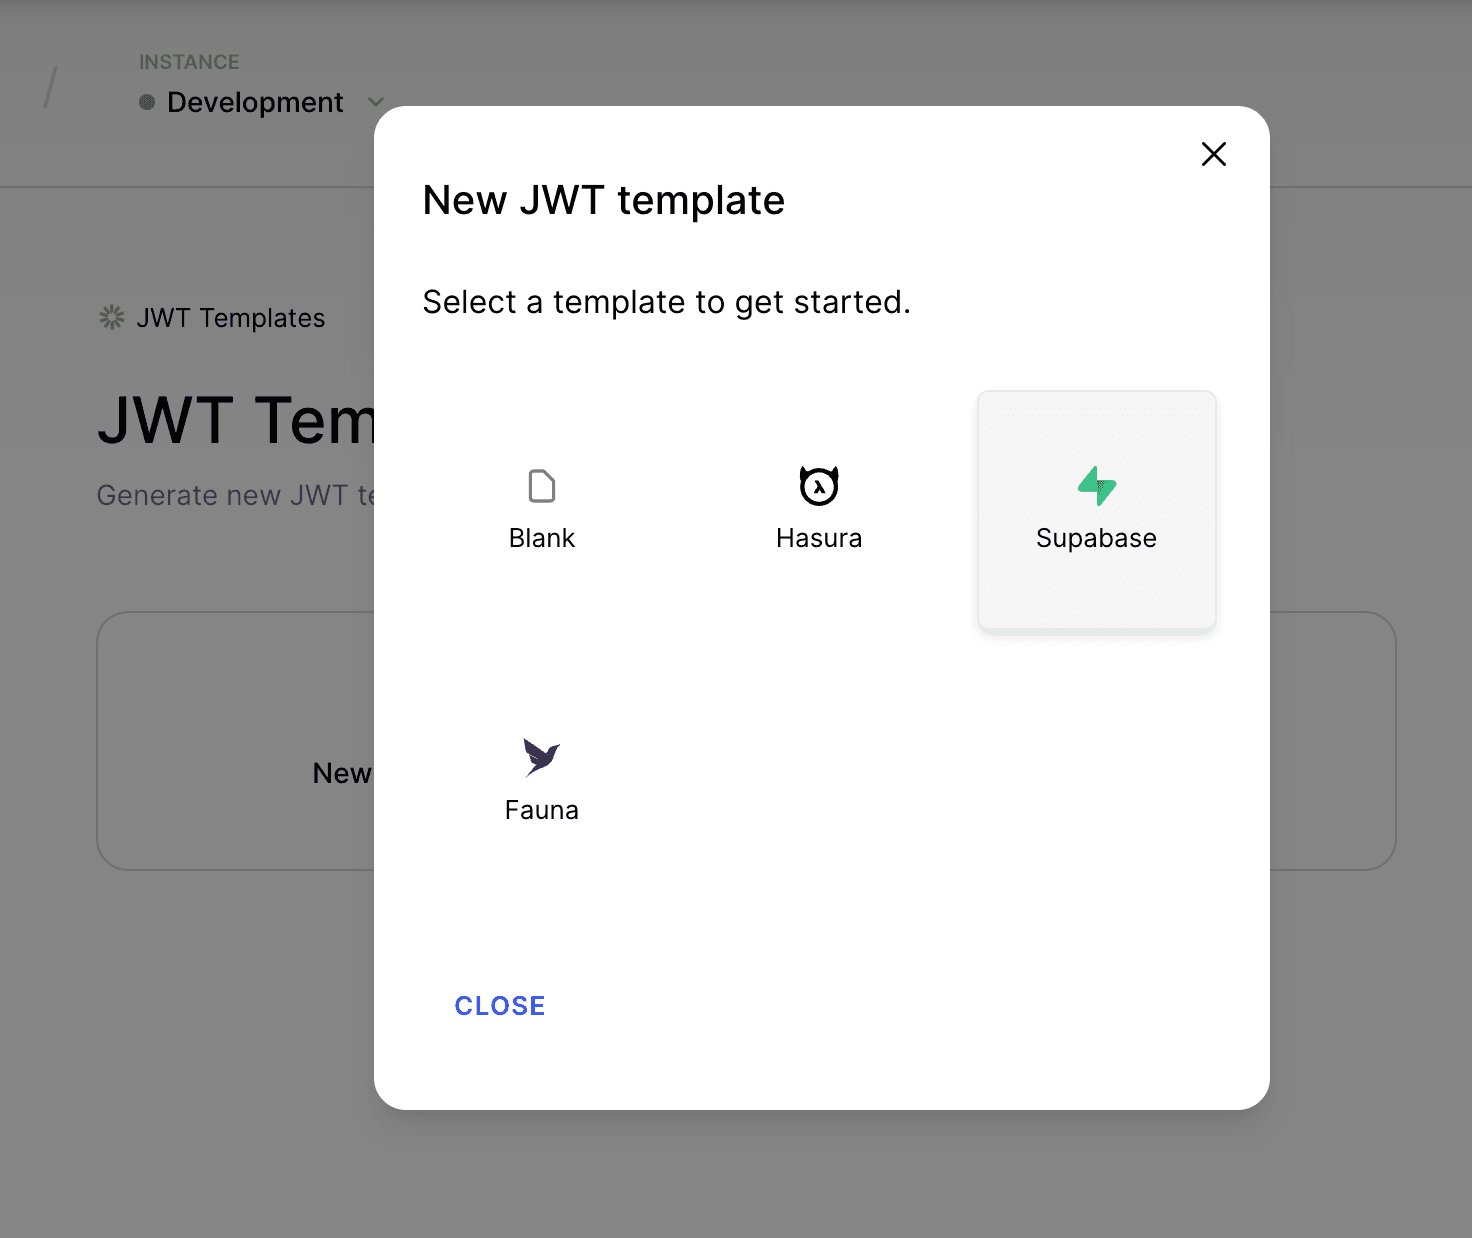
Step 1: Create JWT template#
The first step is to create a new Clerk application from your Clerk Dashboard if you haven't done so already. You can choose whichever authentication strategy and social login providers you prefer. For more information, check out Clerk's guide.
After your Clerk application has been created, use the lefthand menu to navigate to the JWT Templates page.
Click on the button to create a new template based on Supabase.
This will pre-populate the default claims required by Supabase. You can include additional claims or modify them as necessary. Shortcodes are also available for adding dynamic values.
ℹ️ Note the name of the JWT template (which you can change) because this will be needed later.

Step 2: Sign JWT with Supabase secret#
Supabase requires JWTs be signed with the HS256 signing algorithm and use their signing key. Find the JWT secret key in your Supabase project under Settings > API in the Config section.

Click to reveal the JWT secret, copy it, and then paste it in the Signing key field in the Clerk JWT template.

After the key is added, click the Apply Changes button to save your template.
Step 3: Configure client#
The next step is to configure your client. Supabase provides an official JavaScript/TypeScript client library and there are libraries in other languages built by the community.
This guide will use a Next.js project with the JS client as an example, but the mechanism of setting the authentication token should be similar with other libraries and frameworks.
Assuming a Next.js application, set the following environment variables in an .env.local file:
1NEXT_PUBLIC_CLERK_FRONTEND_API=your-frontend-api
2NEXT_PUBLIC_SUPABASE_URL=your-supabase-url
3NEXT_PUBLIC_SUPABASE_KEY=your-supabase-anon-key
Note: If you're using Create React App, replace the NEXT_PUBLIC prefix with REACT_APP
Your Clerk Frontend API can be found on the API Keys screen.

To get the ones needed for Supabase, navigate to the same Settings > API page as before and locate the anon public key and URL.

Note: It is recommended that you enable Row Level Security (RLS) for your database tables and configure access policies as needed.
After setting those three environment variables, you should be able to start up your application development server.
Install the JavaScript client for Supabase with:
1npm install @supabase/supabase-js
Initialize the Supabase client by passing it the environment variables.
This can be saved to a common file, for example as lib/supabaseClient.js
import { createClient } from '@supabase/supabase-js'

const supabaseUrl = process.env.NEXT_PUBLIC_SUPABASE_URL
const supabaseKey = process.env.NEXT_PUBLIC_SUPABASE_KEY

export const supabase = createClient(supabaseUrl, supabaseKey)
export default supabase
Step 4: Set up Clerk Provider#
Install the latest Clerk Next.js SDK by running the following:
1npm install @clerk/nextjs@next
Note: There is also a Clerk library for React and React Native with Expo.
After the package is installed, wrap your application with the <ClerkProvider /> component.
In a Next.js application, this is typically done in pages/_app.js:
import { ClerkProvider } from '@clerk/nextjs'

function MyApp({ Component, pageProps }) {
  return (
    <ClerkProvider>
      <Component {...pageProps} />
    </ClerkProvider>
  )
}

export default MyApp
Step 5: Set auth token with Supabase#
In order to access the custom JWT, you can use the getToken function returned by the Clerk useAuth hook and pass it the name of your template (hopefully you remembered from earlier).
Note: The getToken({ template: <your-template-name> }) call is asynchronous and returns a Promise that needs to be resolved before accessing the token value. This token is short-lived for better security and should be called before every request to your Supabase backend. The caching and refreshing of the token is handled automatically by Clerk.
Call supabase.auth.setAuth(token) to override the JWT on the current client. The JWT will then be sent to Supabase with all subsequent network requests.
import { useAuth } from '@clerk/nextjs'
import supabase from '../lib/supabaseClient'

export default function Home() {
  const { getToken } = useAuth()

  const fetchData = async () => {
    // TODO #1: Replace with your JWT template name
    const token = await getToken({ template: 'supabase' })

    supabase.auth.setAuth(token)

    // TODO #2: Replace with your database table name
    const { data, error } = await supabase.from('your_table').select()

    // TODO #3: Handle the response
  }

  return (
    <button type="button" onClick={fetchData}>
      Fetch data
    </button>
  )
}
Access user ID in RLS policies#
It is common practice to need access to the user identifier on the database level, especially when working with RLS policies in Postgres. Although Supabase provides a special function auth.uid() to extract the user ID from the JWT, this does not work with Clerk. The workaround is to write a custom SQL function to read the sub property from the JWT claims.
In the SQL Editor section of the Supabase dashboard, click New Query and enter the following:
create or replace function requesting_user_id()
returns text
language sql stable
as $$
  select nullif(current_setting('request.jwt.claims', true)::json->>'sub', '')::text;
$$;
This will create a requesting_user_id() function that can be used within an RLS policy.
For example, this policy would check that the user making the request is authenticated and matches the user_id column of a todos table.
Access user ID in table column#
If you would like the requesting user ID from the JWT to automatically populate a text type column in your database table, you can set the Default Value field to the previously defined requesting_user_id() function.
